By Doris A. Rose

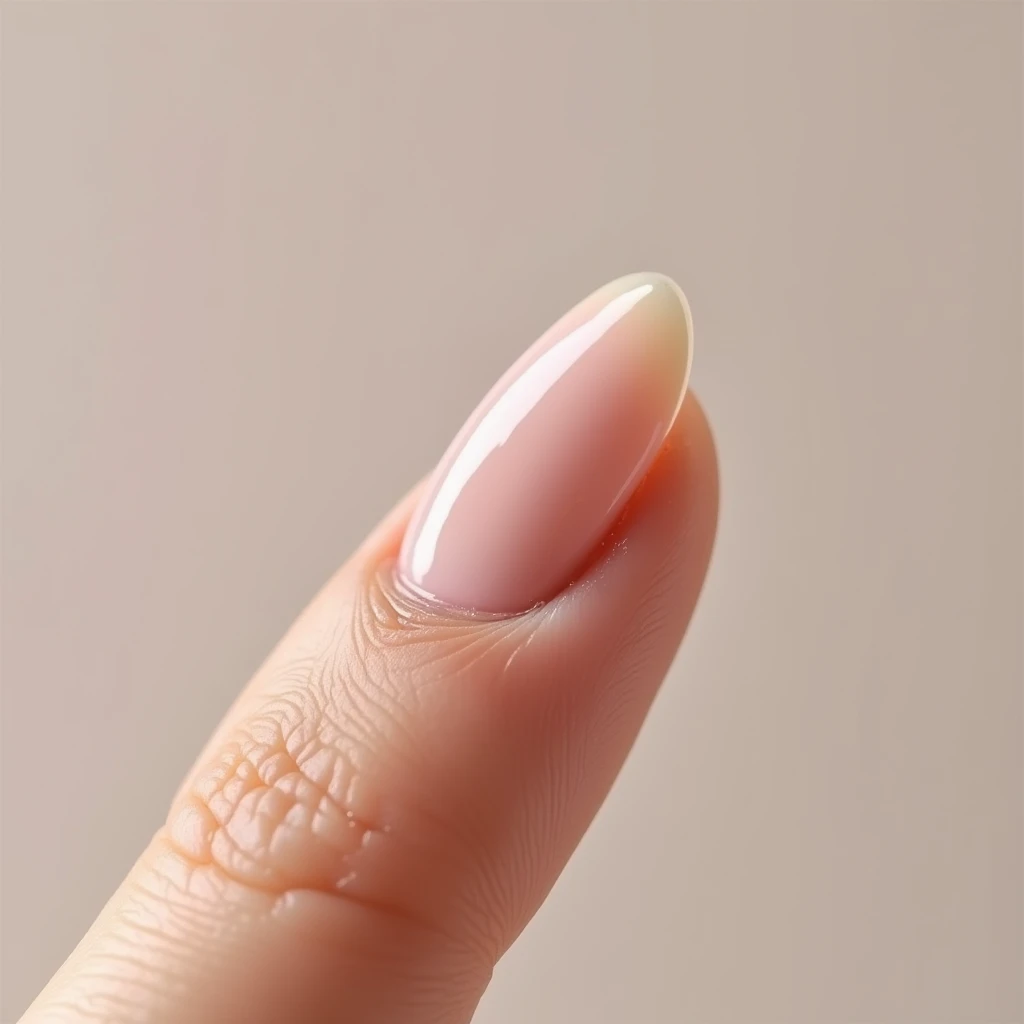
There’s something magical about the way pink melts into deep burgundy across a perfectly shaped stiletto nail. As a nail artist, I’ve always been drawn to the dramatic elegance of this combination, and today, I’m excited to share my intimate journey with this stunning nail art technique that has captured the hearts of modern nail enthusiasts.
Just last week, while creating this exact design for a bride-to-be, I watched her eyes light up as the colors transformed from soft ballet pink to rich wine-colored tips. That moment perfectly encapsulated why I’m so passionate about this particular style – it’s both bold and sophisticated, making a statement while remaining undeniably elegant.
The Allure of Pink and Burgundy Ombré

The combination of pink and burgundy isn’t just another color pairing – it’s a journey through shades that complement virtually every skin tone. I’ve discovered that this particular gradient creates a visual lengthening effect that makes fingers appear more graceful, especially when paired with the dramatic stiletto shape.
Why This Combination Works
- The soft pink base provides a clean, professional foundation
- Burgundy adds depth and sophistication
- The gradient transition creates an illusion of length
- The colors complement both warm and cool undertones
- Perfect for both daytime elegance and evening glamour
Technical Breakdown: Creating the Perfect Ombré
After countless hours perfecting this technique, I’ve developed a foolproof method that ensures stunning results. Here’s my detailed approach:
Essential Materials
| Category | Items Needed | Purpose |
|---|---|---|
| Base Products | – Nail dehydrator – Primer – Base coat | Preparation and longevity |
| Color Products | – Soft pink gel polish – Medium pink gel polish – Burgundy gel polish – Clear builder gel | Main design elements |
| Tools | – Thin detail brush – Gradient sponge – LED/UV lamp – Stiletto nail forms | Application and shaping |
| Finishing Products | – Top coat – Cuticle oil – Shimmer powder (optional) | Sealing and enhancement |

Step-by-Step Application Process
- Preparation Phase
- Gently push back cuticles and shape natural nails
- Apply nail forms for stiletto extension
- Dehydrate natural nails and apply primer
- Create stiletto extension using clear builder gel
- Color Application
- Apply soft pink base to entire nail
- Create gradient using sponge technique
- Layer colors gradually for seamless transition
- Cure between each layer using LED/UV lamp
- Perfecting Details
- Apply fine shimmer (optional)
- Perfect the gradient with detail brush
- Seal with top coat
- Cure final time

Maintenance and Longevity Tips
From my experience, proper maintenance is crucial for making this design last. Here’s what I recommend to my clients:
Daily Care Routine
- Apply cuticle oil morning and night
- Wear gloves while doing dishes or cleaning
- Avoid using nails as tools
- Keep hands moisturized
Weekly Maintenance
- Check for any lifting at edges
- Touch up top coat if needed
- Deep moisturize cuticles
- Gentle buffing if shine dulls
Customization Options

While the classic pink-to-burgundy combination is timeless, I often customize this design based on client preferences:
Popular Variations
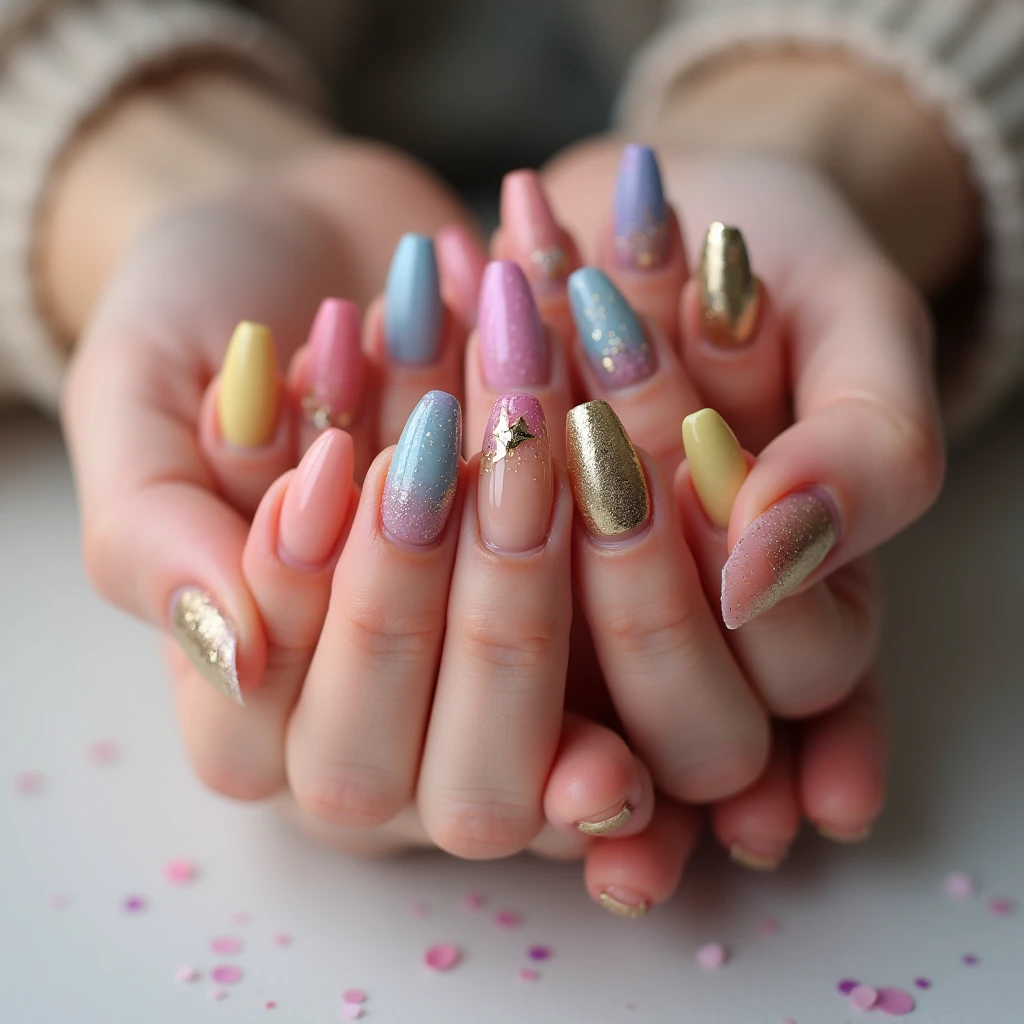
- Add gold or silver chrome powder for metallic effect
- Incorporate subtle glitter gradient
- Feature negative space designs
- Include delicate hand-painted flowers
Q&A Section
Q: How long does this nail design typically last?
A: With proper care and application, this design typically lasts 3-4 weeks. However, natural nail growth will be visible at the base after about 2 weeks.
Q: Is the stiletto shape practical for daily activities?
A: While striking, stiletto nails do require some lifestyle adjustments. I recommend starting with a shorter length if you’re new to this shape, then gradually increasing as you become more comfortable.
Q: Does the ombré effect work on natural nails?
A: Yes! While the effect is more dramatic on longer stiletto extensions, I’ve created beautiful ombré designs on natural nails as well. The key is proper preparation and technique.
Q: How can I maintain the sharp stiletto shape?
A: Regular filing is essential. I recommend using a glass file for maintenance and avoiding metal files which can be too harsh. File in one direction only to prevent splitting.
Q: What’s the best way to remove this type of nail design?
A: Professional removal is recommended to prevent damage to natural nails. The process involves carefully filing down the top layer and soaking off the remaining product with acetone.
Cost Considerations
Understanding the investment involved helps set proper expectations. Here’s a detailed breakdown:
| Service Component | Average Cost Range | Duration |
|---|---|---|
| Full Set with Extensions | $85-120 | 2-2.5 hours |
| Color Ombré Application | $25-35 | 45 minutes |
| Maintenance Fill | $55-75 | 1.5 hours |
| Removal | $25-35 | 45 minutes |
Pro Tips from My Experience
After creating countless ombré designs, I’ve discovered several tricks that make a significant difference:
- Temperature Matters
- Keep gel polishes at room temperature
- Warm the gradient sponge slightly
- Avoid working in direct sunlight
- Color Selection
- Test colors on swatches first
- Consider undertones in both shades
- Account for skin tone interaction
- Application Secrets
- Work in thin layers
- Cure each layer fully
- Build color gradually
Troubleshooting Common Issues
Based on questions I frequently receive from clients:
Color Bleeding
Solution:
- Use less product on the sponge
- Allow each layer to cure completely
- Work with thinner layers
Uneven Gradient
Solution:
- Ensure proper product consistency
- Use light, dabbing motions
- Build up color gradually
Lifting Issues
Solution:
- Proper prep is crucial
- Avoid touching cuticles
- Cap the free edge properly
Special Occasions and Events
This design is particularly popular for:
- Weddings (both bride and bridal party)
- Professional photoshoots
- Special celebrations
- Formal events
- Holiday parties
I often customize the gradient’s placement and intensity based on the occasion, making it more subtle for professional events and more dramatic for special celebrations.
Seasonal Adaptations
The beauty of this design lies in its adaptability throughout the year:
Spring/Summer
- Lighter pink base
- Subtle burgundy transition
- Pearl or shimmer finish
Fall/Winter
- Deeper pink base
- Rich burgundy finish
- Matte or metallic accents
The Psychology of Color Choice
In my experience, clients who choose this combination often:
- Seek balance between professional and glamorous
- Want to make a subtle statement
- Appreciate classic elegance with a modern twist
- Value versatility in their style choices
Remember, the perfect nail design is one that makes you feel confident and comfortable. While these techniques and tips come from my personal experience, don’t be afraid to adapt them to suit your unique style and preferences.

