There’s nothing quite like biting into a piece of perfectly fried chicken—that satisfying crunch giving way to juicy, tender meat infused with spices that tickle your taste buds and warm your soul. After countless hours in my kitchen perfecting this recipe, I’m thrilled to share my ultimate spicy fried chicken that strikes the perfect balance between heat, flavor, and that unmistakable crispy exterior that keeps you coming back for more.
This isn’t just any fried chicken recipe. It’s the result of years of experimenting with different brines, marinades, spice blends, and frying techniques. Whether you’re cooking for a family gathering, weekend dinner, or just treating yourself, this recipe delivers restaurant-quality results right in your home kitchen.
The Secret to Perfect Fried Chicken
The journey to exceptional fried chicken involves several crucial steps that can’t be rushed. From the initial brining process that ensures juicy meat to the perfectly seasoned coating that creates that irresistible crunch, each component plays a vital role in the final result.
What sets this recipe apart is the carefully calibrated spice blend that brings just the right amount of heat without overwhelming the natural flavors of the chicken. I’ve balanced classic cayenne heat with aromatic spices and a touch of sweetness to create a complex flavor profile that will have everyone asking for your secret.
Let’s dive into what makes this fried chicken truly special!
Ingredients
For the Brine:
- 4 cups buttermilk
- 2 tablespoons kosher salt
- 1 tablespoon sugar
- 2 teaspoons garlic powder
- 1 teaspoon onion powder
- 1 tablespoon hot sauce (I prefer Sriracha or Louisiana-style)
- 8-10 pieces chicken (combination of thighs, drumsticks, and wings)
For the Spice Mixture:
- 3 tablespoons cayenne pepper
- 2 tablespoons smoked paprika
- 2 tablespoons ground black pepper
- 1 tablespoon garlic powder
- 1 tablespoon onion powder
- 1 teaspoon dried thyme
- 1 teaspoon dried oregano
- 1 teaspoon ground cumin
- 1 tablespoon light brown sugar
- 1 tablespoon kosher salt
For the Dredge:
- 3 cups all-purpose flour
- 1 cup cornstarch
- 1 tablespoon baking powder
- ¼ cup of the prepared spice mixture (reserve the rest)
- 1 teaspoon salt
For Frying:
- 4-6 cups vegetable oil or peanut oil
- 1 cup reserved buttermilk brine from marinating
Essential Equipment
Before we begin, make sure you have these tools on hand:
- Large bowl for brining
- Mixing bowls for dredging station
- Heavy-bottomed Dutch oven or deep cast iron skillet
- Cooking thermometer
- Wire rack set over a baking sheet
- Tongs for handling hot chicken
- Paper towels for draining

Step-by-Step Method
Preparation (Day Before)
- Make the brine: In a large bowl, whisk together buttermilk, salt, sugar, garlic powder, onion powder, and hot sauce until well combined.
- Prepare the chicken: Pat chicken pieces dry with paper towels. Check for any excess fat or leftover feathers and trim if necessary.
- Brine the chicken: Submerge chicken pieces completely in the buttermilk mixture. Cover and refrigerate for at least 4 hours, but preferably overnight (12-24 hours). This step is crucial for tenderizing the meat and infusing flavor deep into the chicken.
- Prepare the spice mixture: While the chicken is brining, combine all spice mixture ingredients in a bowl and mix thoroughly. This can be stored in an airtight container until ready to use.
Cooking Day
- Prepare for frying: Remove the chicken from the refrigerator 30 minutes before cooking to take the chill off. Set up your dredging station with the flour mixture in one bowl and reserve 1 cup of the buttermilk brine in another.
- Make the dredge: In a large bowl, whisk together flour, cornstarch, baking powder, ¼ cup of the spice mixture, and salt until well combined.
- Heat the oil: Pour oil into your Dutch oven or deep skillet until it’s about 2-3 inches deep. Heat over medium-high heat until the oil reaches 350°F (175°C).
- Dredge the chicken: Remove one piece of chicken from the brine, allowing excess to drip off. Dredge thoroughly in the flour mixture, pressing the flour into every crevice. Dip back briefly in the reserved buttermilk, then dredge again in the flour mixture. This double-dredging technique creates extra crispy chicken!
- Fry in batches: Carefully lower 3-4 pieces of chicken into the hot oil, being careful not to overcrowd the pan. Maintain oil temperature between 325-350°F (163-175°C).
- Monitor cooking time: Fry chicken pieces, turning occasionally with tongs, until deeply golden brown and cooked through. This typically takes:
- Wings: 8-10 minutes
- Thighs and drumsticks: 12-15 minutes
- Breasts: 15-18 minutes
- Check internal temperature: Use a meat thermometer to ensure chicken has reached an internal temperature of 165°F (74°C).
- Drain and season: Remove cooked chicken to a wire rack set over a baking sheet. Immediately sprinkle with some of the reserved spice mixture while still hot.
- Rest before serving: Allow chicken to rest for 5-10 minutes before serving for optimal juiciness and flavor.
Detailed Cooking Temperature Guide
For consistent results, follow this temperature guide that I’ve perfected through countless batches:
| Chicken Part | Oil Temperature | Cooking Time | Internal Temperature |
|---|---|---|---|
| Wings | 350°F (175°C) | 8-10 minutes | 165°F (74°C) |
| Drumsticks | 335°F (168°C) | 12-14 minutes | 165°F (74°C) |
| Thighs | 325°F (163°C) | 14-16 minutes | 165°F (74°C) |
| Breasts | 325°F (163°C) | 15-18 minutes | 165°F (74°C) |
The Science Behind Great Fried Chicken
Understanding what makes fried chicken work can help you achieve perfect results every time:
Why These Techniques Matter:
Buttermilk Brine: : Contains lactic acid that tenderizes chicken while adding tanginess : The protein in buttermilk helps the coating adhere better : Salt in the brine helps chicken retain moisture during cooking
Cornstarch in Flour: : Creates a lighter, crispier coating than flour alone : Helps prevent the coating from absorbing too much oil : Contributes to that signature “shatter” when you bite in
Baking Powder: : Creates tiny air bubbles when it hits the hot oil : Results in a lighter, more textured crust : Helps achieve that distinctive cragginess in the coating
Double Dredging: : Builds multiple layers of coating for extra crunch : Creates nooks and crannies for the spices to cling to : Ensures no bare spots on the chicken
Oil Temperature: : Starting with higher heat creates an immediate seal : Gradually reducing temperature ensures cooking without burning : Proper temperature prevents greasy chicken
Common Mistakes to Avoid
After making countless batches of fried chicken, I’ve learned what not to do:
- Skipping the brine: This step is non-negotiable for juicy chicken.
- Frying cold chicken: Always let it come to room temperature first.
- Overcrowding the pan: This drops the oil temperature too much.
- Constantly moving the chicken: Let it form a crust before turning.
- Incorrect oil temperature: Too hot burns the outside while leaving the inside raw; too cool makes greasy chicken.
- Not letting chicken rest: Give it 5-10 minutes before serving.
- Seasoning too late: Apply extra spice mix immediately after frying.
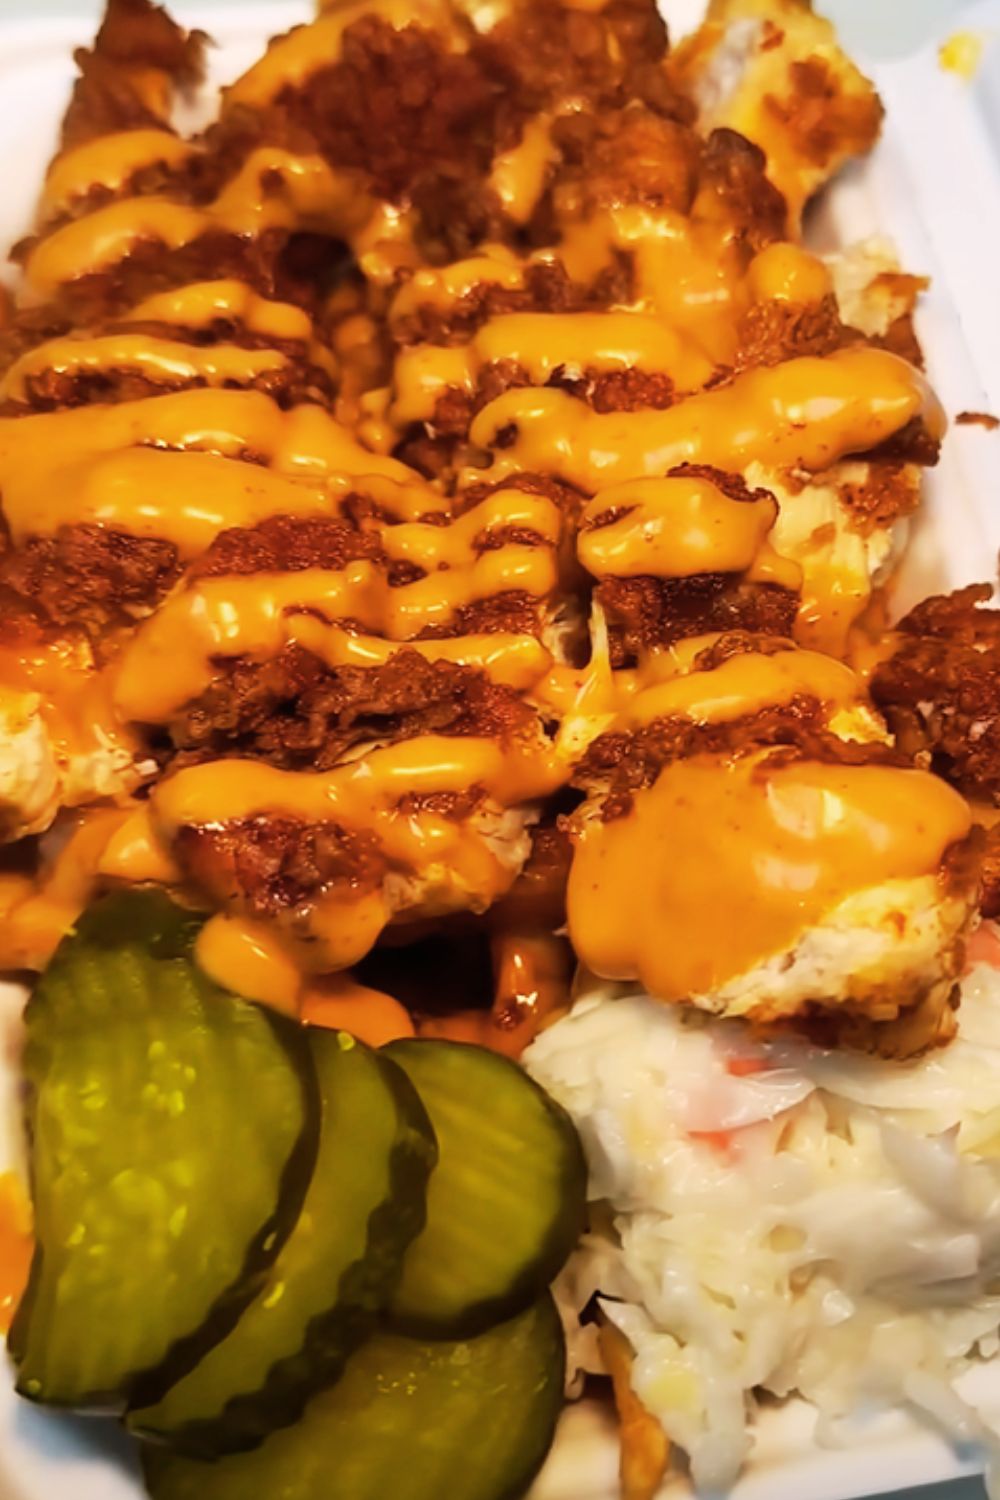
Serving Suggestions
This spicy fried chicken pairs beautifully with:
- Homemade honey butter for drizzling (mix 1/4 cup honey with 1/2 cup softened butter)
- Classic coleslaw with a vinegar-based dressing to cut through the richness
- Flaky buttermilk biscuits
- Creamy mashed potatoes
- Pickles and pickled vegetables for acidity
- Mac and cheese for ultimate comfort
- Crisp green salad with buttermilk ranch dressing
- Sweet corn on the cob
- Watermelon slices for a refreshing contrast

Make-Ahead and Storage Tips
Make Ahead Options:
- Brine chicken: Up to 24 hours in advance
- Prepare spice mixture: Up to 1 month in advance
- Mix dry dredging ingredients: Up to 2 days in advance
Storage and Reheating:
Refrigerator: : Store cooled fried chicken in airtight container for 3-4 days : Separate layers with paper towels to maintain crispness
Freezer: : Wrap individual pieces in foil, then place in freezer bags : Keeps well for up to 3 months : Label with date and contents
Reheating: : Oven method (best): 400°F (200°C) for 15-20 minutes on a wire rack : Air fryer: 375°F (190°C) for 5-7 minutes : Avoid microwave as it makes the coating soggy
Variations to Try
Once you’ve mastered the basic recipe, try these delicious variations:
Nashville-Style Hot Chicken
After frying, brush chicken with a mixture of:
- 1/2 cup hot oil from frying
- 3 tablespoons cayenne pepper
- 1 tablespoon brown sugar
- 1 teaspoon garlic powder
- 1 teaspoon paprika
Honey Garlic Glaze
Toss fried chicken in a sauce made from:
- 1/2 cup honey
- 4 cloves minced garlic
- 2 tablespoons soy sauce
- 1 tablespoon apple cider vinegar
- Reduce over medium heat until thickened
Lemon Pepper Version
Modify the spice blend with:
- 3 tablespoons lemon pepper seasoning
- Zest of 2 lemons
- Increase black pepper to 3 tablespoons
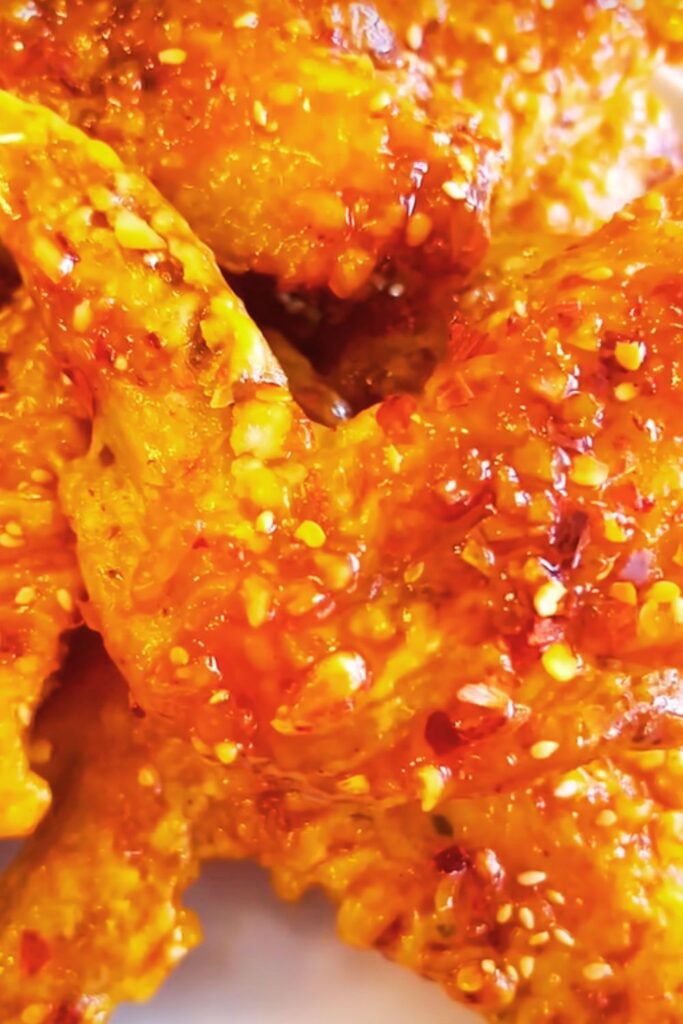
Korean-Inspired Gochujang Chicken
Create a glaze with:
- 3 tablespoons gochujang paste
- 2 tablespoons honey
- 1 tablespoon rice vinegar
- 1 tablespoon sesame oil
- 2 cloves minced garlic
- Top with sesame seeds and green onions
Troubleshooting Guide
| Problem | Possible Cause | Solution |
|---|---|---|
| Coating falls off | Flour not adhering properly | Pat chicken drier before dredging; press coating firmly onto chicken |
| Chicken too dark but not cooked inside | Oil too hot | Lower heat; start at 350°F then reduce to 325°F |
| Greasy chicken | Oil not hot enough | Maintain oil at proper temperature; drain well after frying |
| Not spicy enough | Heat level varies by preference | Increase cayenne in spice mix or make a spicy dipping sauce |
| Chicken too salty | Over-brining | Reduce brining time or salt in the brine mixture |
| Inconsistent cooking | Chicken pieces different sizes | Cut larger pieces slightly smaller or start larger pieces first |
Health Considerations
While fried chicken is undeniably delicious, I understand many people are health-conscious. Here are some tips for a slightly healthier version:
- Remove chicken skin before brining (sacrifices some texture but reduces fat)
- Use skinless chicken breast tenders which cook faster and absorb less oil
- Consider air-frying: 375°F (190°C) for 25-30 minutes, spraying with oil beforehand
- Oven-fried version: Dredge as directed, then bake at 425°F (220°C) on a wire rack for 35-45 minutes
- Use heart-healthy oils like avocado oil with its higher smoke point
Frequently Asked Questions
Q: Can I use regular milk instead of buttermilk? A: Yes, but add 1 tablespoon of lemon juice or vinegar per cup of milk and let sit for 5 minutes to create a buttermilk substitute. The acidity is important for tenderizing.
Q: How can I tell if the chicken is done without a thermometer? A: Pierce the thickest part with a knife – juices should run clear, not pink. However, a thermometer is strongly recommended for food safety.
Q: Why did my coating turn out soggy? A: This usually happens when the oil isn’t hot enough, the chicken was overcrowded in the pan, or the chicken wasn’t properly dried before dredging.
Q: Can I reuse the frying oil? A: Yes, strain it through a fine-mesh sieve lined with cheesecloth once cooled. Store in a sealed container and reuse 2-3 times before discarding.
Q: Is there a gluten-free option? A: Absolutely! Replace the all-purpose flour with a gluten-free flour blend plus 1/4 teaspoon of xanthan gum for similar results.
Q: How do I adjust the spice level? A: For milder chicken, reduce the cayenne pepper by half. For extra spicy, increase it by 50% or add 1 teaspoon of ground ghost pepper to the spice mix.
Q: Can I brine the chicken for longer than 24 hours? A: I don’t recommend it as the proteins can break down too much, resulting in mushy chicken. 12-24 hours is the sweet spot.
Q: What’s the best oil for frying chicken? A: Peanut oil is my favorite for its high smoke point and flavor, but vegetable oil, canola oil, or shortening also work well.
Final Tips for Success
After countless batches of fried chicken, here are my most important takeaways:
- Trust the process: Don’t rush any steps, especially the brining and resting.
- Use a thermometer: Both for oil temperature and checking doneness.
- Season aggressively: Fried foods need more seasoning than you might think.
- Practice patience: Good fried chicken can’t be rushed.
- Keep it consistent: Try to cut chicken pieces to similar sizes for even cooking.
- Listen to the sizzle: The right sound is a moderate, steady sizzle – not silence, not violent bubbling.
- Taste and adjust: Everyone’s spice preference is different; don’t be afraid to customize.
With these techniques, tips, and a little practice, you’ll be making restaurant-quality spicy fried chicken that will become your signature dish. The combination of juicy, tender meat and that perfectly spiced crispy coating is absolutely worth the effort!
Happy frying!