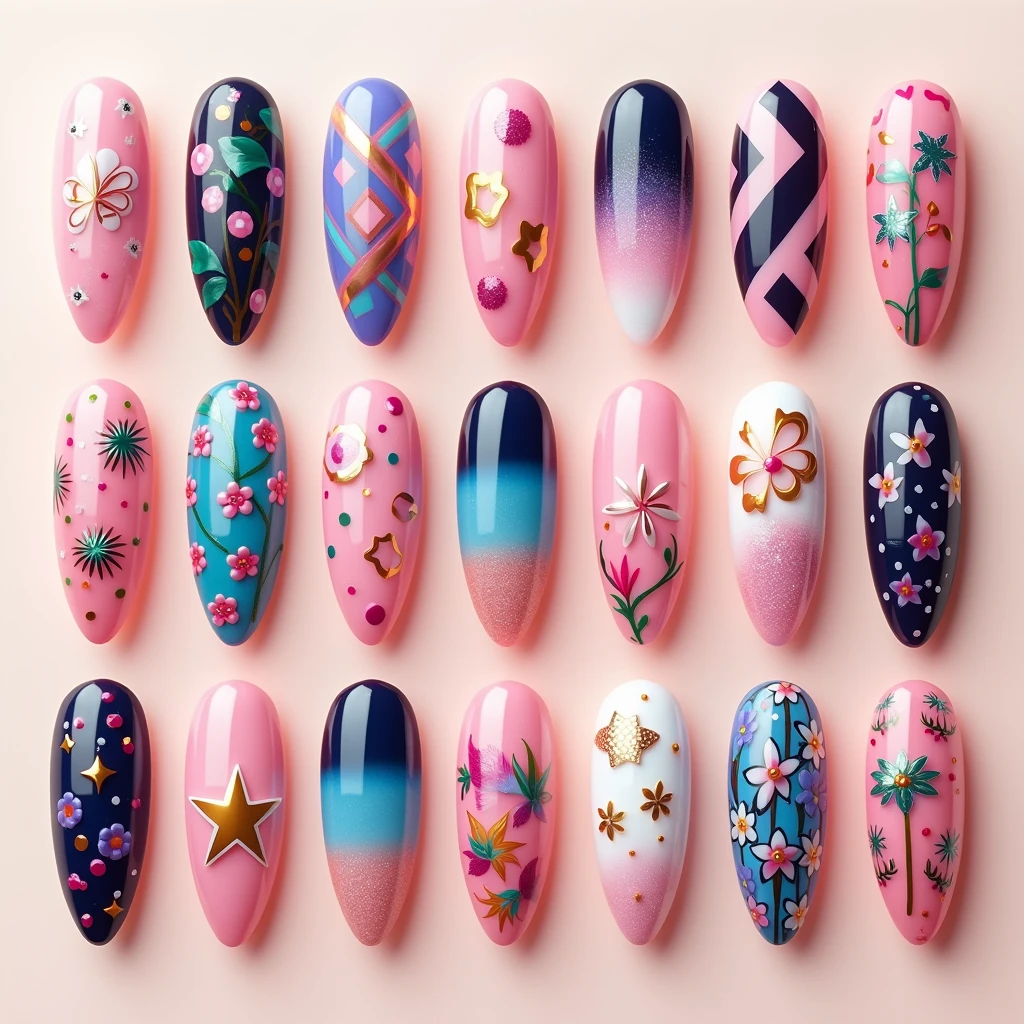
As someone who’s transformed countless nails from plain to spectacular, I’ve gathered some of my absolute favorite nail designs that never fail to bring smiles to my clients’ faces. Today, I’m thrilled to share these cute nail ideas that will definitely make your heart skip a beat!
Why These Nail Designs Stand Out
Before diving into the specific designs, I want to share why these particular choices made my list. Each time I create these designs in my salon, I notice how they instantly brighten my clients’ mood. They’re not just pretty – they’re conversation starters and confidence boosters!
1. Pastel Rainbow Cloud Design
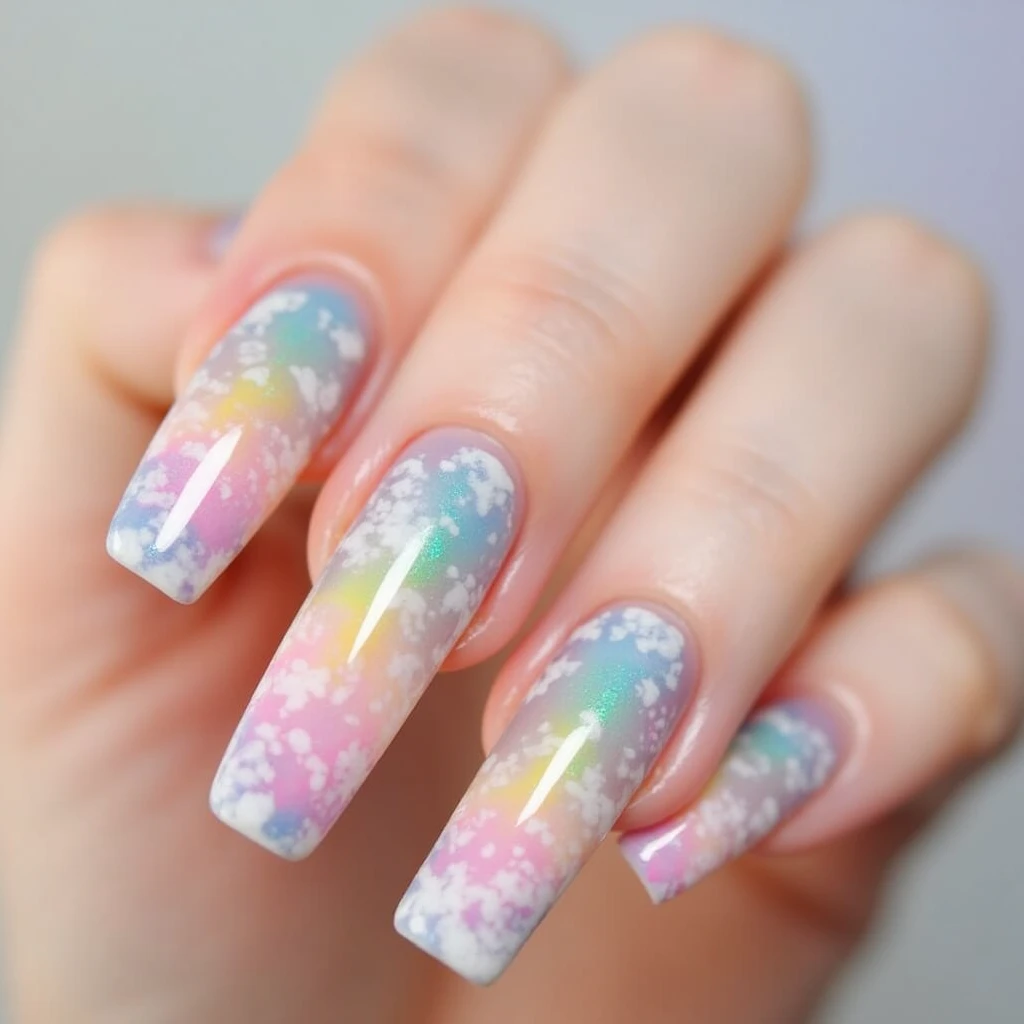
This design holds a special place in my heart because it reminds me of spring mornings. I love creating soft, fluffy clouds using a dotting tool and white polish, then surrounding them with gentle pastel stripes. Here’s what you’ll need:
- White nail polish for clouds
- 5-6 pastel colors
- Small dotting tool
- Clear base and top coat
- Thin striping brush
Application Tips
I’ve found that starting with a white base makes the pastels pop more vibrantly. Layer your colors while they’re still slightly tacky for the best blend.
2. Tiny Hearts Scattered Design

This design came to me during Valentine’s season, but it’s so adorable that my clients request it year-round. The key is in the placement of the hearts – random scattering looks more natural than perfect alignment.
Color Combinations I Love:
| Base Color | Heart Color | Accent Glitter |
|---|---|---|
| Nude Pink | Red | Gold |
| White | Pink | Silver |
| Light Blue | Navy | Pearl |
| Mint | Coral | Rose Gold |
3. Kawaii Character Accent Nails

Creating tiny adorable characters on accent nails always brings joy to my workspace. I usually place them on the ring finger and thumb for maximum impact.
Popular Character Ideas:
- Sleepy clouds with eyelashes
- Happy cupcakes
- Tiny cats with whiskers
- Smiling stars
4. Dotted French Tips

This is my go-to design when clients want something professional yet playful. Instead of traditional white tips, I create graduated dots that form a french tip illusion.
Professional Color Combinations:
| Base | Dots | Occasion |
|---|---|---|
| Nude | White | Office |
| Pink | Gold | Parties |
| Clear | Silver | Weddings |
| Beige | Rose Gold | Date Night |
5. Minimalist Line Art

These designs prove that sometimes less is more. I love creating abstract faces and geometric shapes using a single thin brush and one color.
Essential Tools:
- Ultra-fine detail brush
- Steady hand (lots of practice!)
- Long-wearing polish
- Quick-dry top coat
6. Fruit Slice Accent

Summer or winter, fruit designs always feel fresh and fun. My clients particularly love tiny watermelon slices and citrus segments.
Best Fruits to Recreate:
- Watermelon (pink base, green rind, black seeds)
- Orange slices (white base, orange segments)
- Kiwi (brown base, green flesh, black seeds)
- Strawberries (red with tiny yellow dots)
7. Glitter Gradient
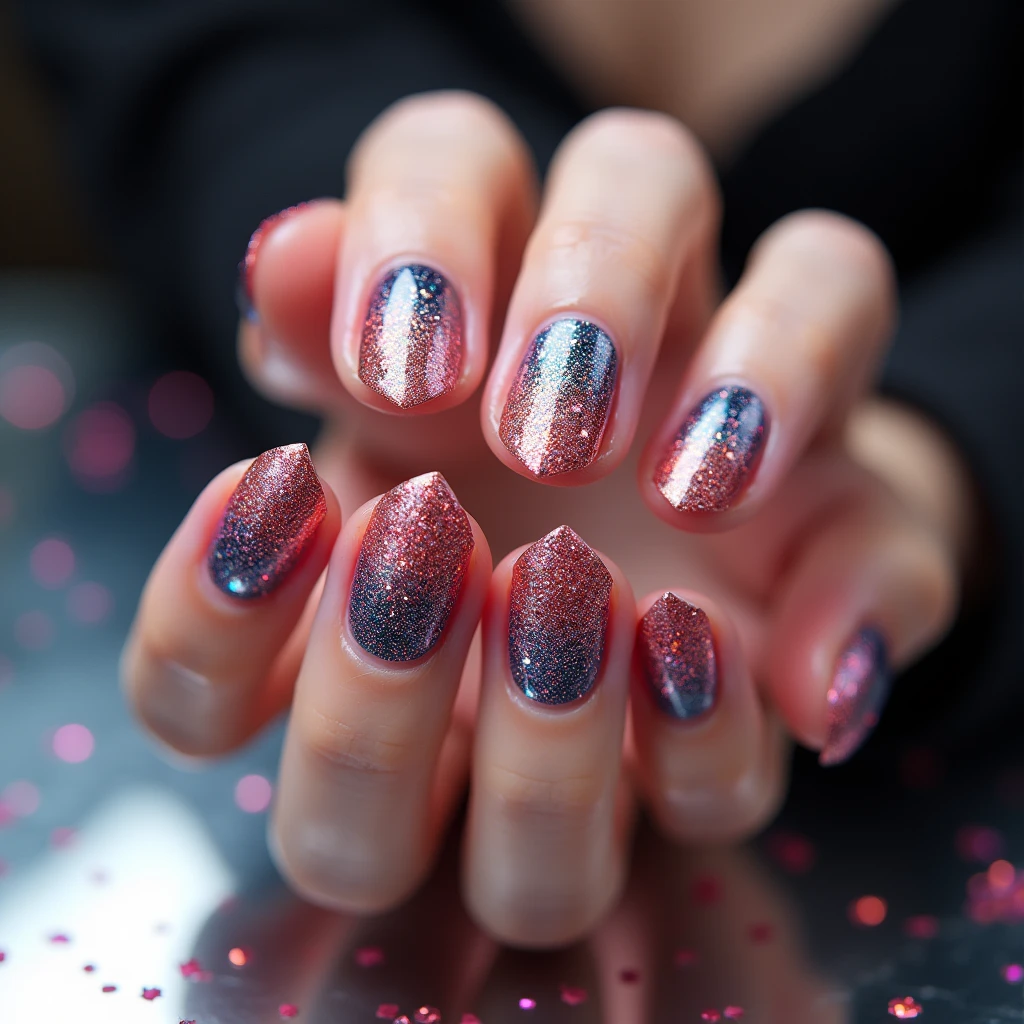
This design teaches us that sometimes the most stunning looks are the simplest to create. I start with a solid base color and gradually build up glitter towards the tip.
Glitter Application Tips:
- Apply base color
- Dab glitter polish on a makeup sponge
- Gradually press onto nail
- Build up intensity at tips
- Seal with 2 layers of top coat
8. Tiny Floral Pattern

These delicate flowers make everyone feel like they’re carrying a tiny garden on their nails. I use a dotting tool to create the flower centers and a thin brush for petals.
Seasonal Color Suggestions:
| Season | Base | Flowers | Leaves |
|---|---|---|---|
| Spring | Light Pink | White, Yellow | Mint |
| Summer | White | Bright Pink, Orange | Green |
| Fall | Nude | Burgundy, Orange | Olive |
| Winter | Grey | White, Silver | Dark Green |
9. Crystal Gem Effect
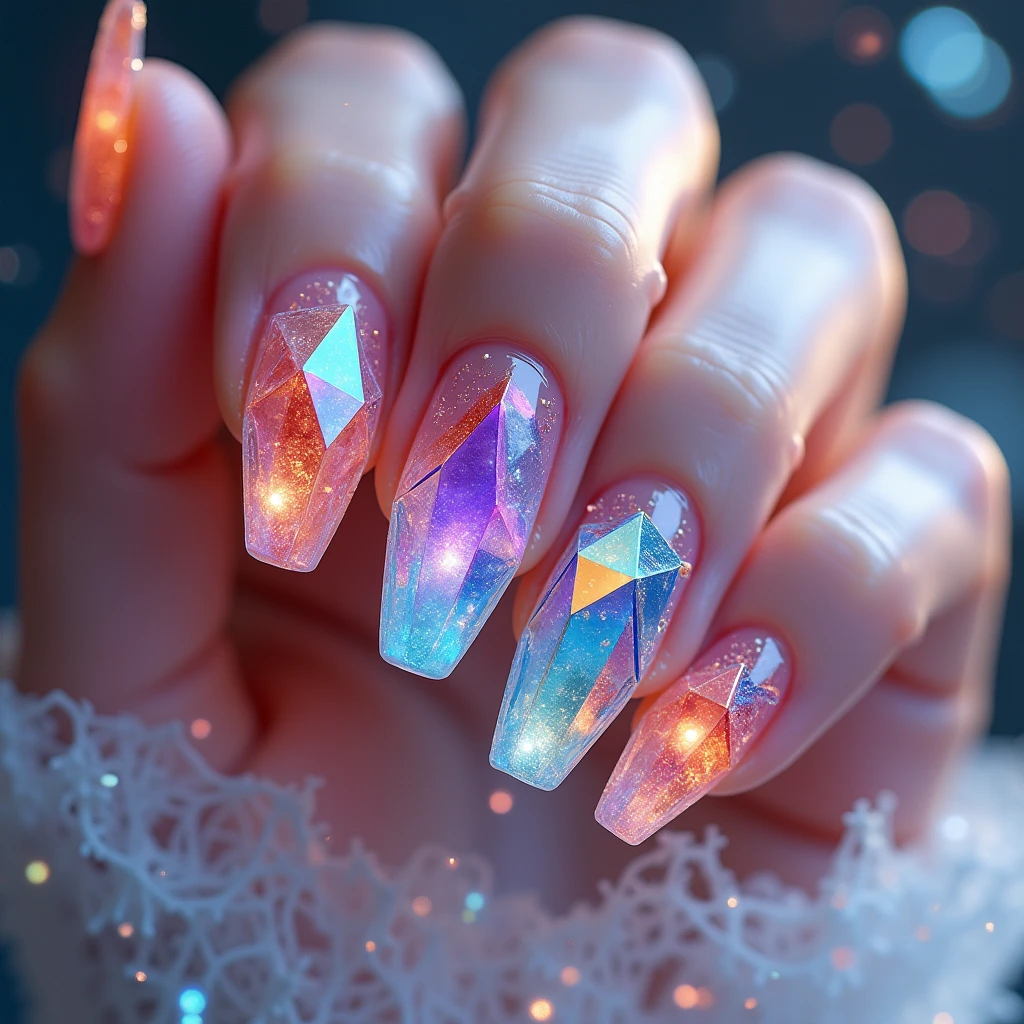
This design makes nails look like precious stones. I create this effect using a combination of polish colors and strategic placement of highlight and shadow.
Steps to Achieve:
- Apply dark base color
- Add lighter shade in center
- Create facet lines
- Add white highlights
- Seal with glossy top coat
10. Rainbow Confetti
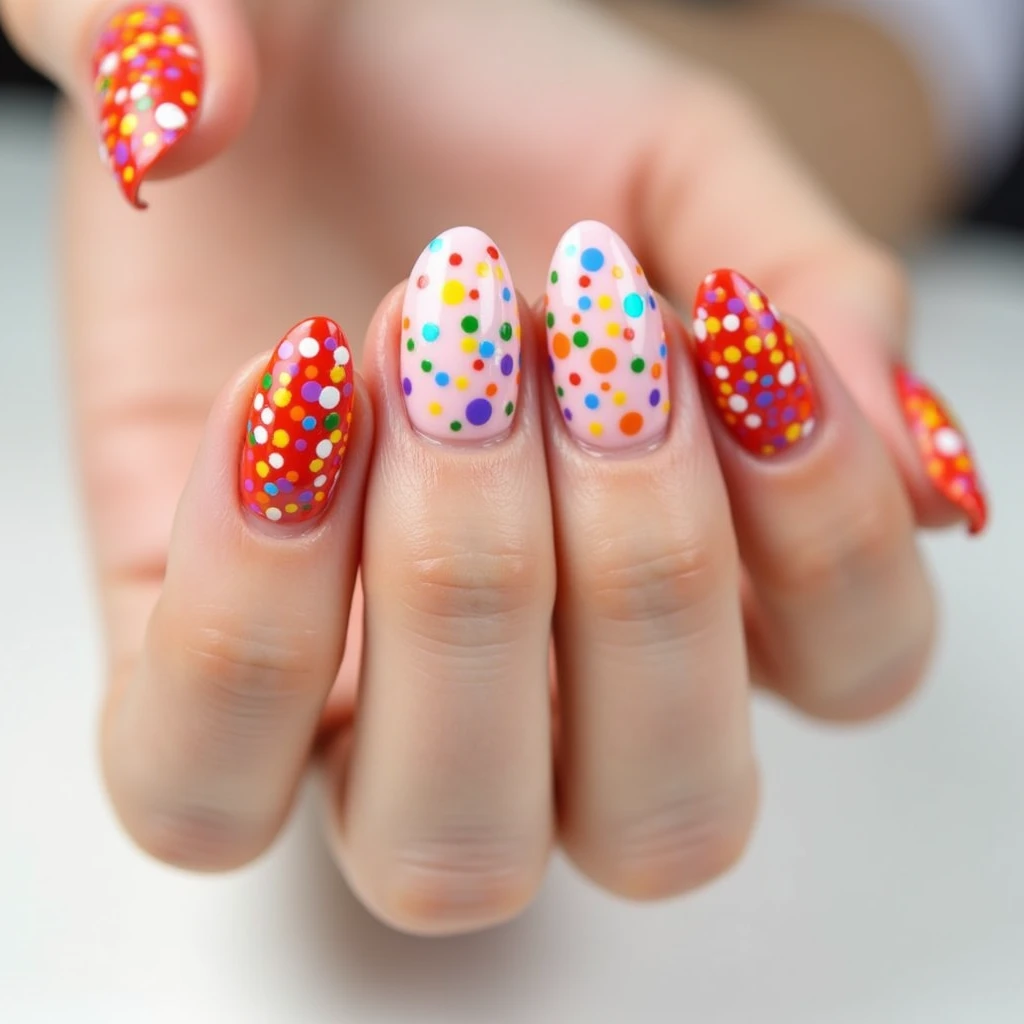
When someone needs a mood lift, this is my go-to design. It’s basically happiness in nail art form! I use different sized dotting tools to create various sized dots in multiple colors.
Color Selection Tips:
- Choose 5-6 complementary colors
- Include at least one metallic shade
- Mix matte and shimmer finishes
- Vary dot sizes for depth
Care Tips for Long-Lasting Nail Art
To keep these designs looking fresh, I always tell my clients to:
- Apply cuticle oil daily
- Wear gloves for dishes and cleaning
- Touch up top coat every 2-3 days
- Avoid hot water immediately after application
Q&A Section
Q: How long do these nail designs typically last?
A: With proper care and a quality top coat, most designs last 1-2 weeks. Glitter designs tend to last the longest.
Q: Can beginners try these designs at home?
A: Absolutely! Start with simpler designs like the glitter gradient or dotted french tips. Practice makes perfect!
Q: What’s the best way to remove intricate nail art?
A: I recommend using cotton pads soaked in acetone-based remover, wrapped in foil for 10-15 minutes.
Q: Do I need special tools for these designs?
A: While professional tools help, you can start with basic items like toothpicks for dots and thin brushes for lines.
Q: Which design is best for growing out natural nails?
A: The glitter gradient works wonderfully as it camouflages growth at the base.
Remember, nail art is about expressing yourself and having fun. Don’t be afraid to modify these designs to match your style – that’s how new trends are born! I love seeing how each person adds their unique twist to these basic ideas.

