By Doris A. Rose
As a nail art enthusiast and professional manicurist, I’ve always found Valentine’s Day to be the perfect occasion to express creativity through nail designs. The excitement of creating love-inspired masterpieces never gets old, and I’m thrilled to share my favorite Valentine’s nail art ideas that anyone can try at home.
The Magic of Valentine’s Nail Art
There’s something incredibly special about looking down at your hands and seeing a touch of romance in your nail design. Whether you’re planning a romantic date night or just want to embrace the season of love, these nail art ideas will help you create the perfect festive look.
Essential Tools and Materials
Before diving into the designs, here’s what you’ll need:
- Base coat and top coat
- Red, pink, and white nail polish
- Fine detail brush
- Dotting tools
- Nail striping tape
- Glitter polish
- Small heart stickers (optional)
- Nail art stamping kit (optional)

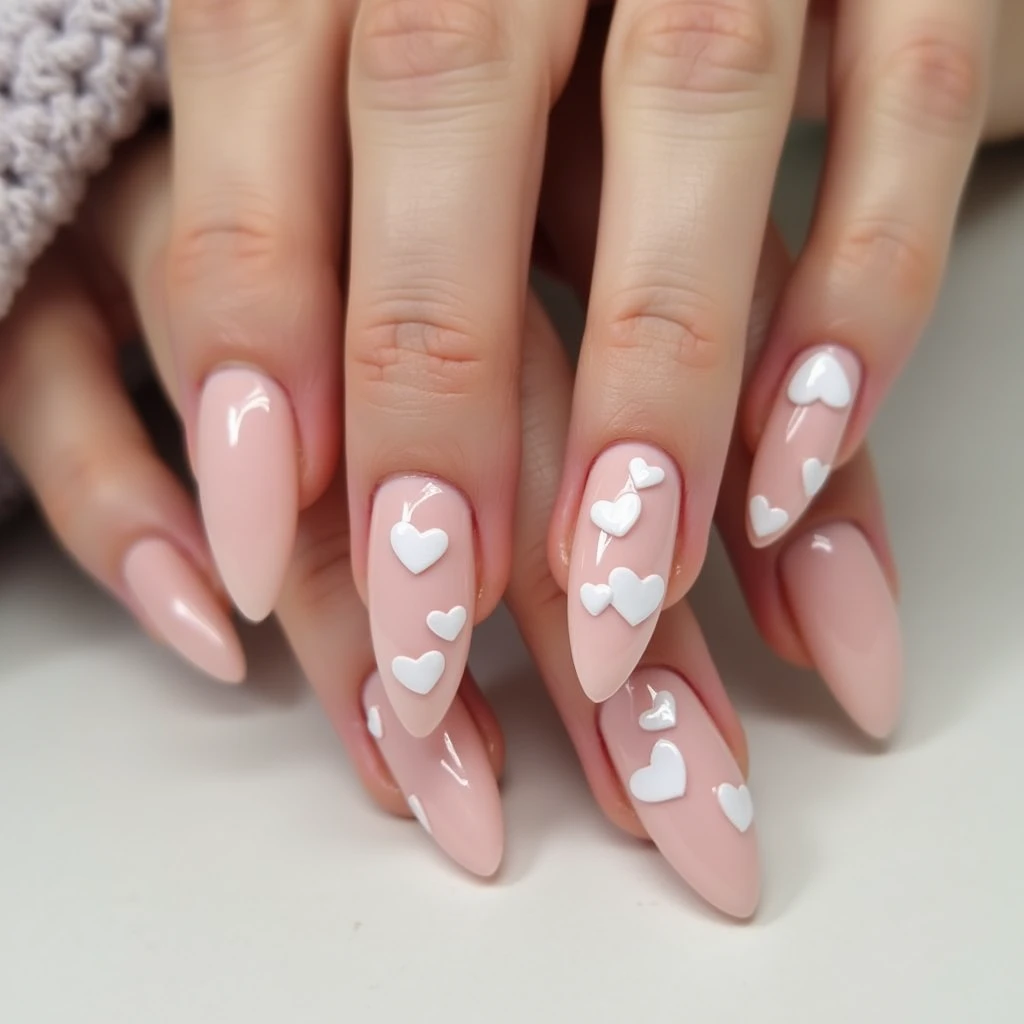
1. Heart Ombre Elegance
This gradient design has become my signature Valentine’s look. I love how it transitions from deep red to soft pink, creating a romantic fade effect.
Steps:
- Apply white base coat
- Use a makeup sponge to create pink-to-red gradient
- Add small white hearts using a dotting tool
- Seal with top coat
Pro Tip: Slightly dampen the makeup sponge for smoother color transition.
2. Cupid’s Arrows
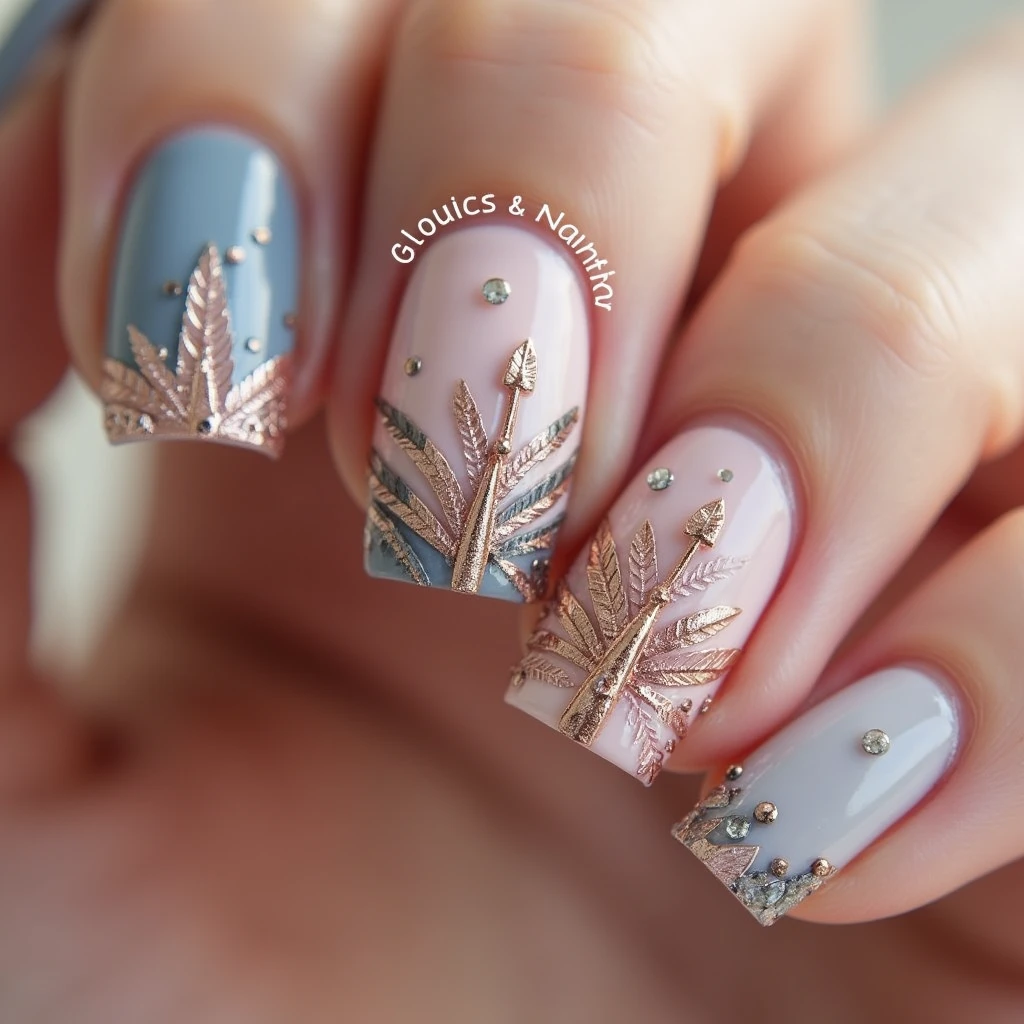
This design always catches attention with its delicate arrow details crossing through hearts.
Steps:
- Apply nude base
- Draw thin gold arrows using a detail brush
- Add tiny hearts where arrows cross
- Top with clear coat
3. Love Letter Nails
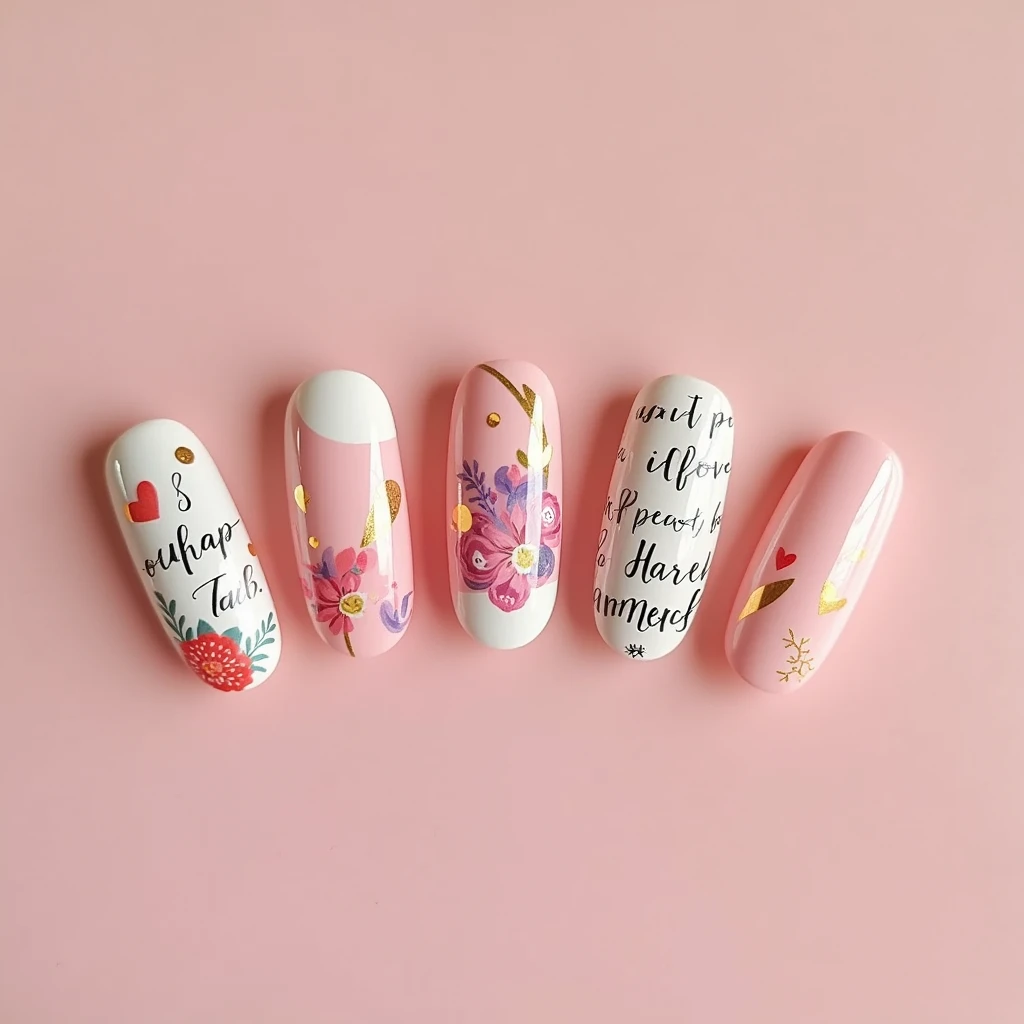
I created this design thinking about vintage love letters, and it’s become a client favorite.
Steps:
- Paint white base
- Add cursive writing using a fine detail brush
- Draw tiny red hearts
- Create envelope shapes on accent nails
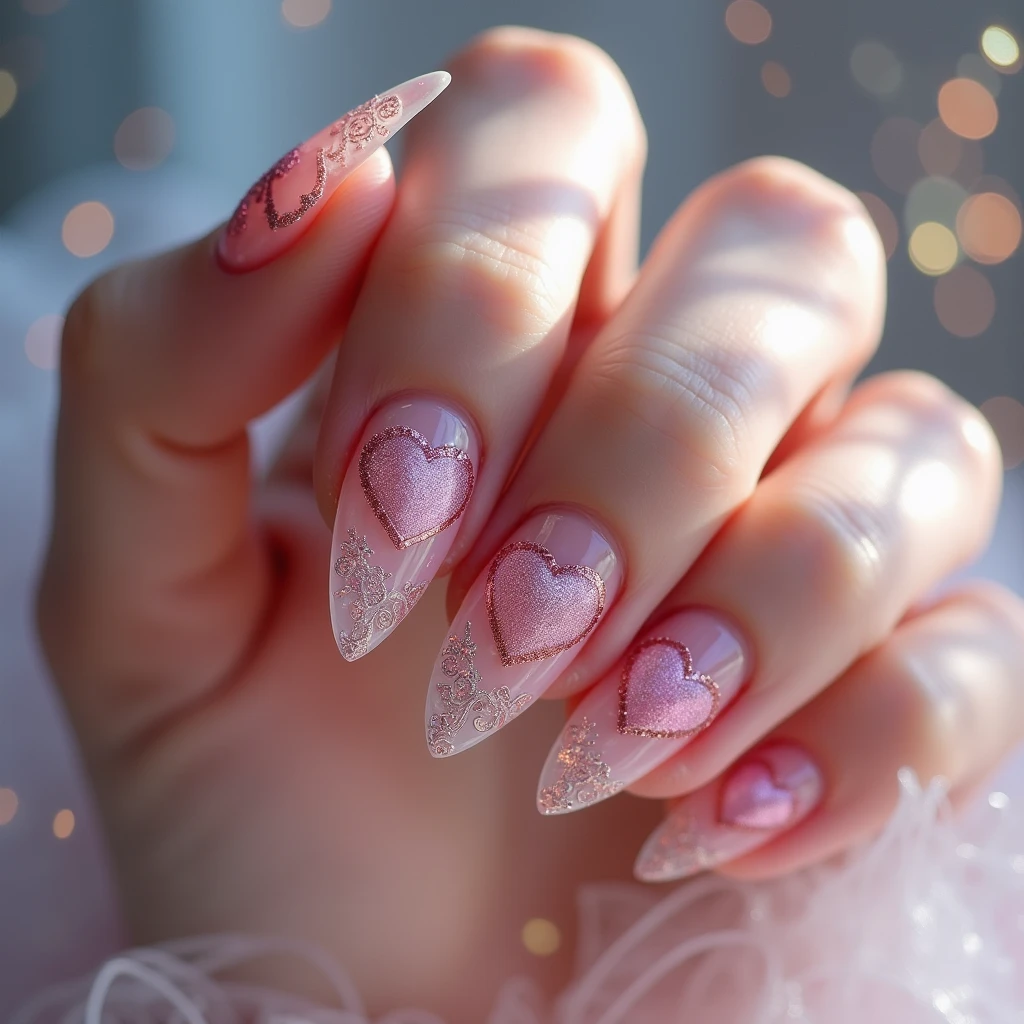
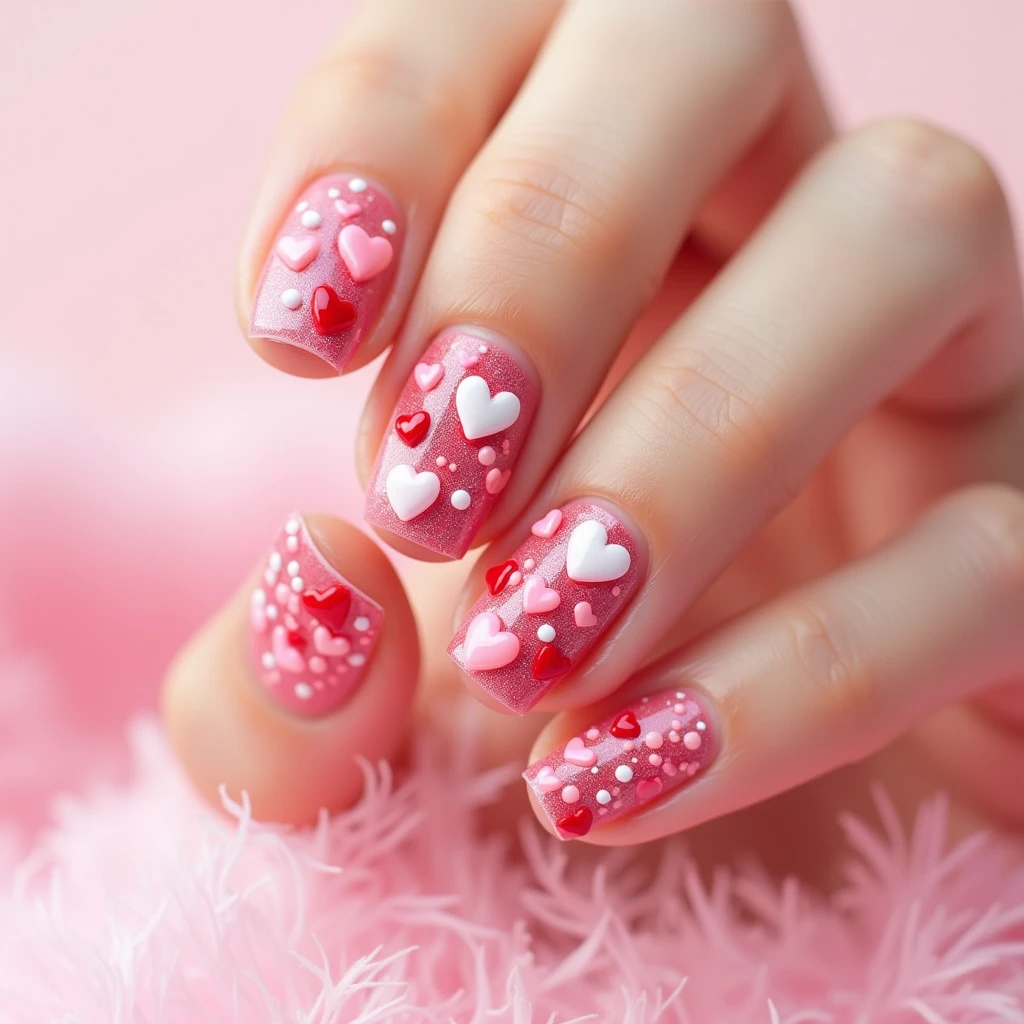
4. Glittery Hearts

Nothing says Valentine’s Day like sparkle and shine. This design combines classic romance with modern glam.
Steps:
- Apply pink base coat
- Add glitter gradient
- Place heart decals
- Seal with generous top coat
5. Sweetheart Stripes
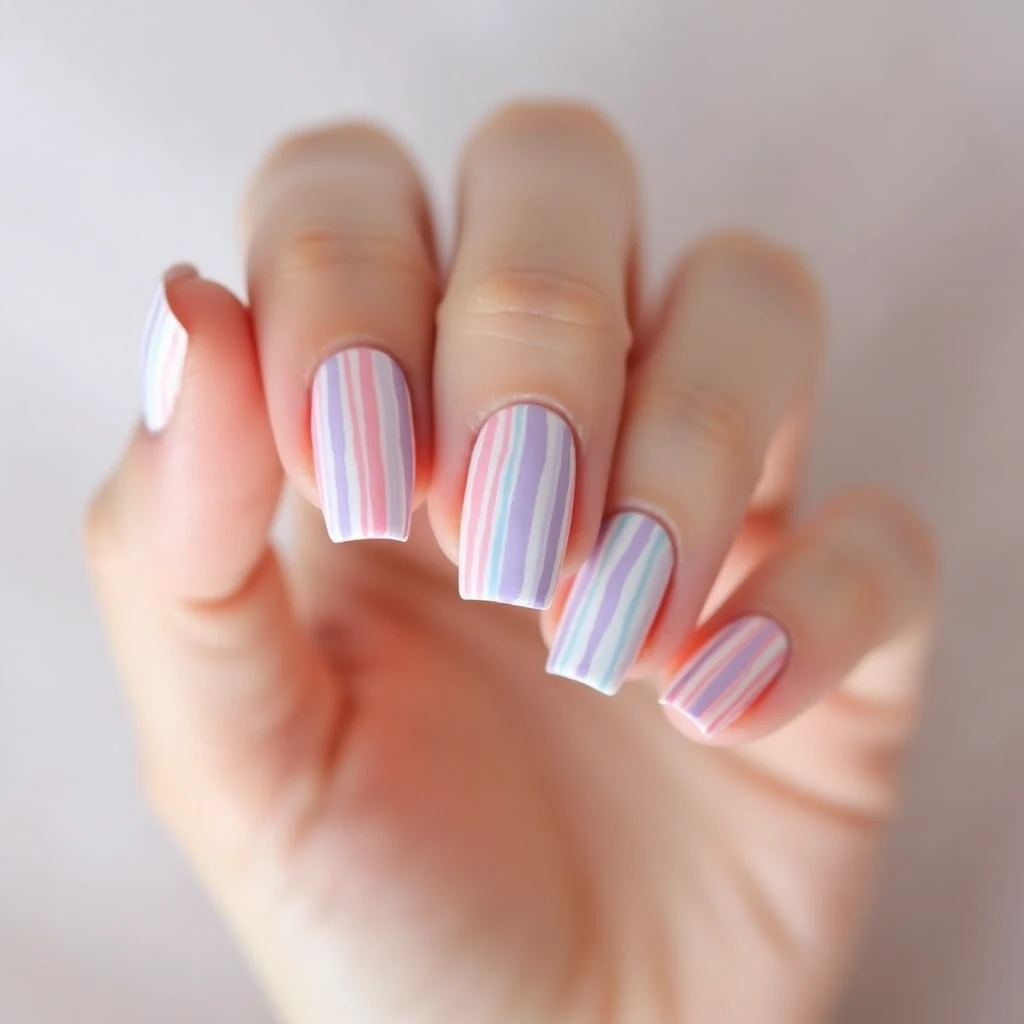
A modern take on classic stripes, incorporating heart elements for that Valentine’s touch.
Steps:
- Paint base color
- Apply striping tape
- Add alternating colors
- Place heart accents
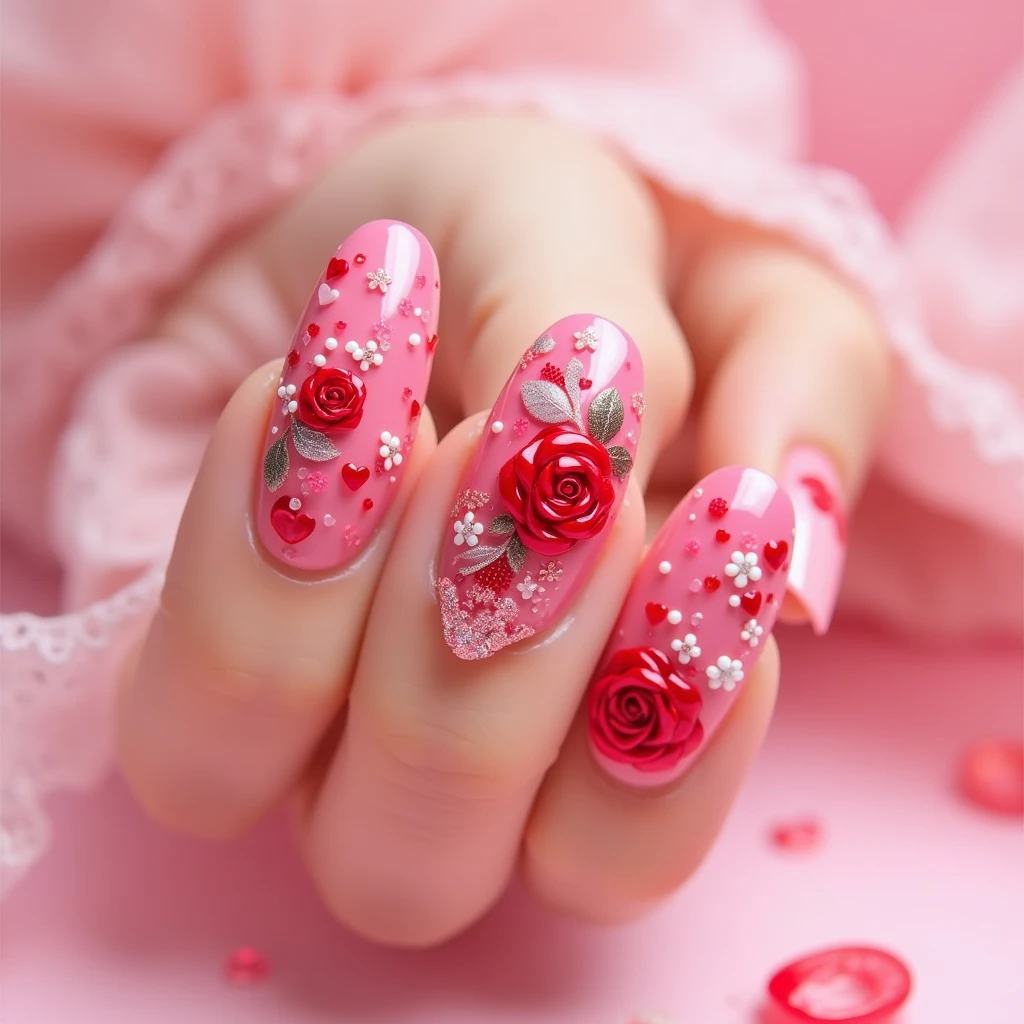
6. Floral Love
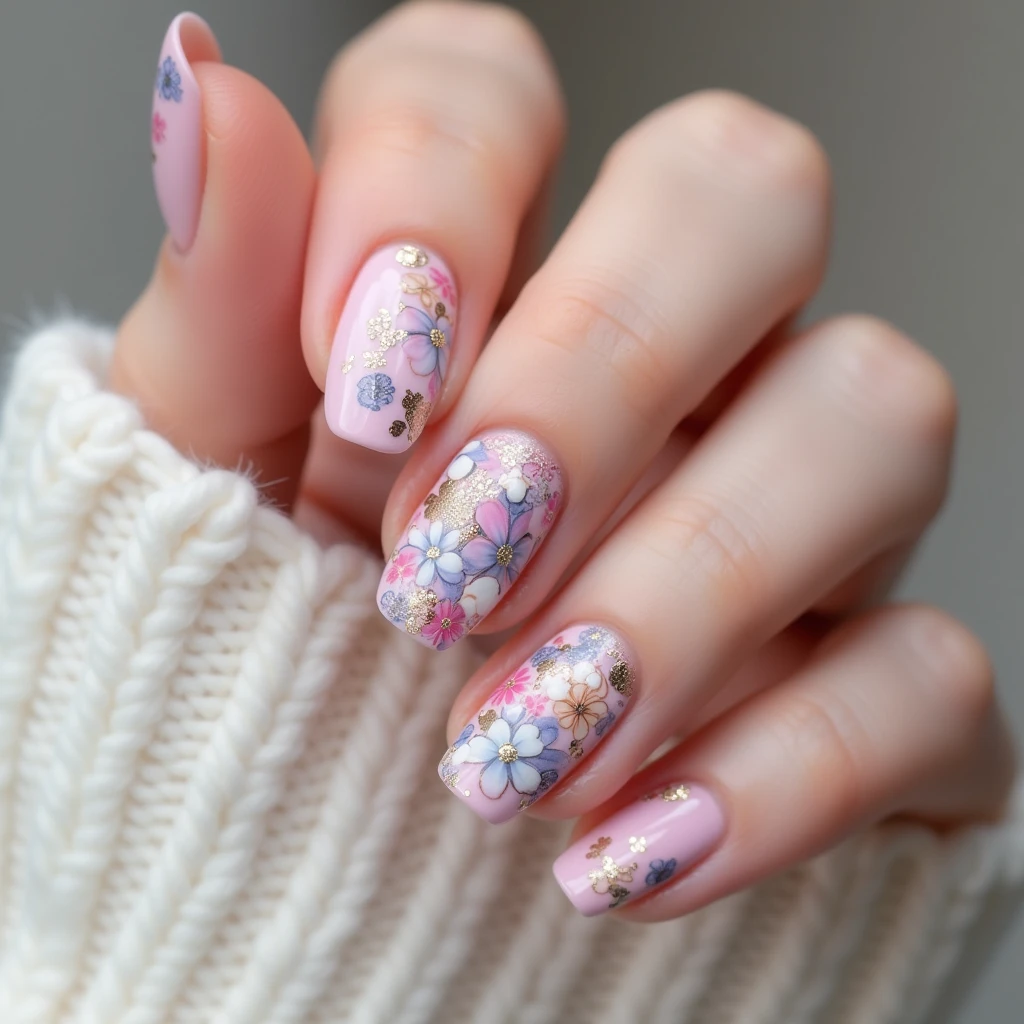
This design combines delicate flowers with heart elements for a romantic garden feel.
Steps:
- Create pink base
- Paint small flowers
- Add heart centers
- Finish with leaves and vines
7. XOXO Design

Simple yet striking, this pattern never fails to make a statement.
Steps:
- Apply white base
- Draw X’s and O’s pattern
- Add tiny hearts between letters
- Top with glossy finish
8. Polka Dot Love
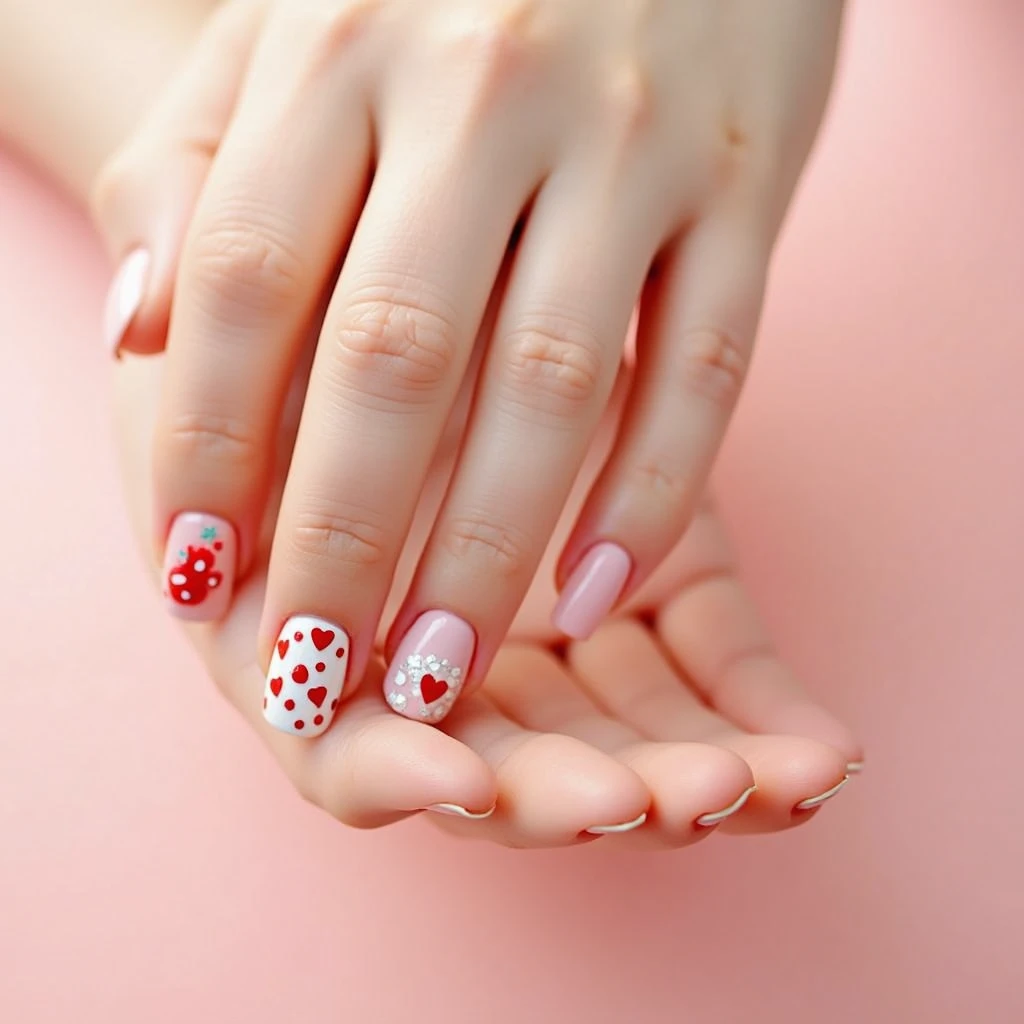
A playful design that combines classic dots with heart shapes.
Steps:
- Paint base color
- Create dot pattern
- Add heart accents
- Seal with top coat
9. Red and Gold Tips
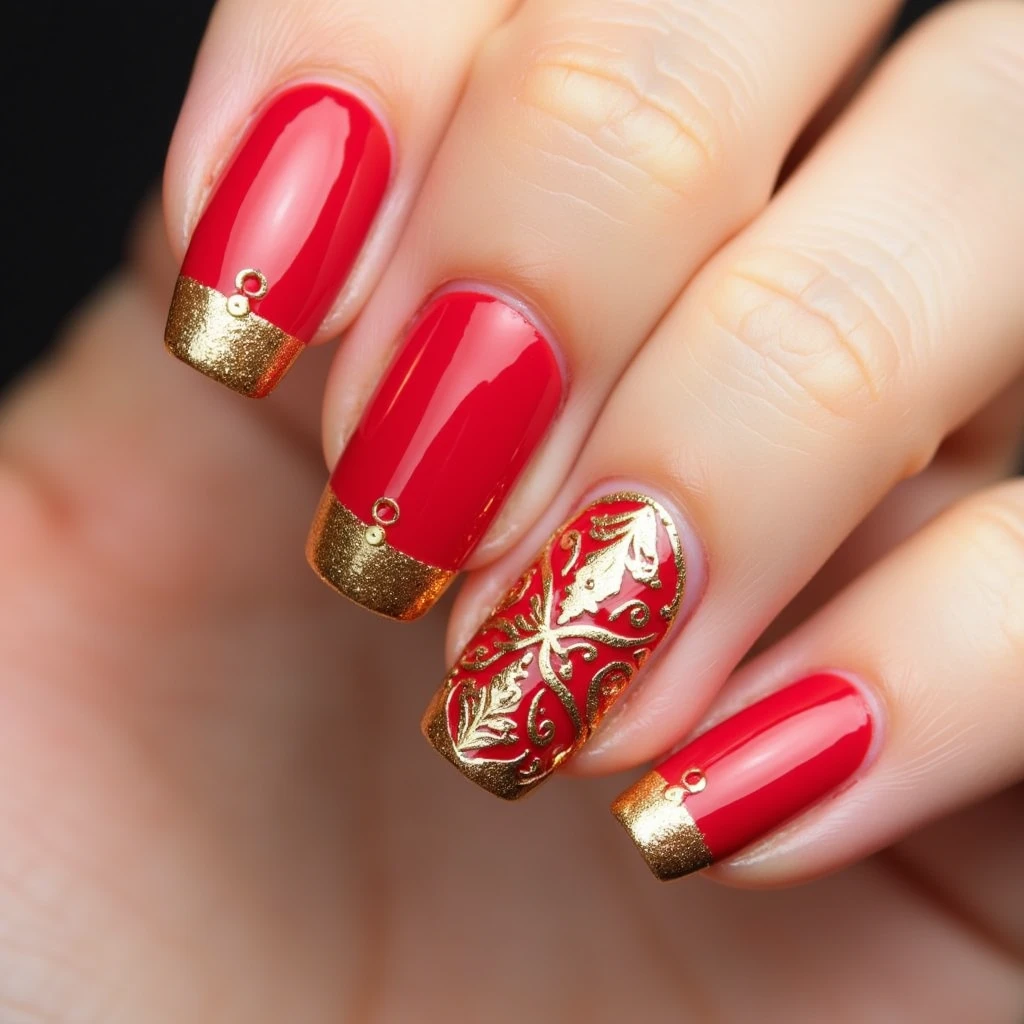
An elegant twist on French tips that’s perfect for Valentine’s Day.
Steps:
- Apply nude base
- Create red tips
- Add gold line detail
- Place small heart accents
10. Candy Conversation Hearts
Inspired by those classic Valentine’s Day candies we all know and love.
Steps:
- Paint pastel bases
- Write candy messages
- Add heart borders
- Seal carefully
11. Negative Space Hearts
A modern, minimalist approach that’s surprisingly easy to achieve.
Steps:
- Apply base coat
- Place heart stencils
- Paint around stencils
- Remove carefully
Maintenance Tips
To keep your Valentine’s nail art looking fresh:
- Apply top coat every 2-3 days
- Wear gloves while doing dishes
- Moisturize cuticles daily
- Avoid hot water exposure
Troubleshooting Common Issues
Here’s a helpful table I’ve created based on common problems I’ve encountered:
| Issue | Cause | Solution |
|---|---|---|
| Smudged hearts | Too wet polish | Wait 2 minutes between layers |
| Uneven gradient | Dry sponge | Lightly dampen sponge |
| Bleeding lines | Thick polish | Thin with proper thinner |
| Chipping design | No top coat | Apply two thin top coats |
| Bubbling | Shaking polish | Roll bottle between palms |
Q&A Section
Q: How long does Valentine’s nail art typically last?
A: With proper application and top coat, these designs can last 7-10 days. I recommend touch-ups after day 5 to maintain the crisp look.
Q: Can beginners attempt these designs?
A: Absolutely! Start with simpler designs like Polka Dot Love or Negative Space Hearts. Practice on paper first to build confidence.
Q: What’s the best base coat for long-lasting Valentine’s nail art?
A: I’ve found that rubberized base coats work best, especially when working with multiple layers of polish and decorations.
Q: How can I prevent my hearts from looking uneven?
A: Use a dotting tool to make two dots close together, then drag them down to a point. Practice this technique on paper first.
Q: What’s the secret to perfect gradient effects?
A: Work quickly with slightly wet polish and use light, dabbing motions with your sponge. Build color gradually in thin layers.
Final Thoughts
What I love most about Valentine’s nail art is how it lets you express your romantic side while having fun with creativity. Don’t be afraid to mix and match these ideas or add your own twist. Remember, practice makes perfect, and even the simplest heart design can look stunning when done with care and love.